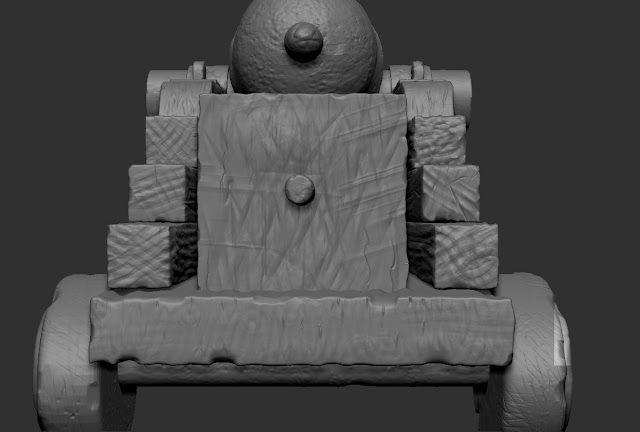
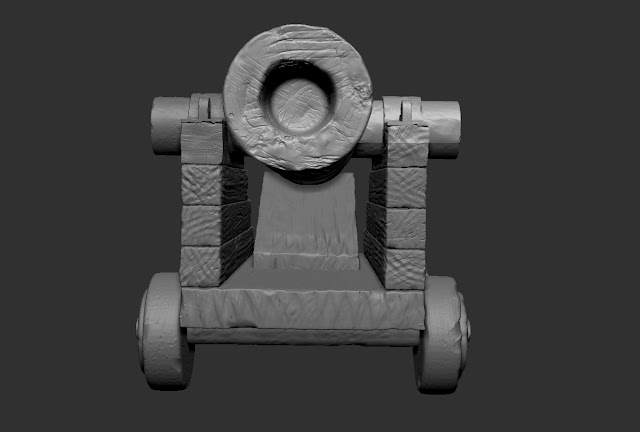
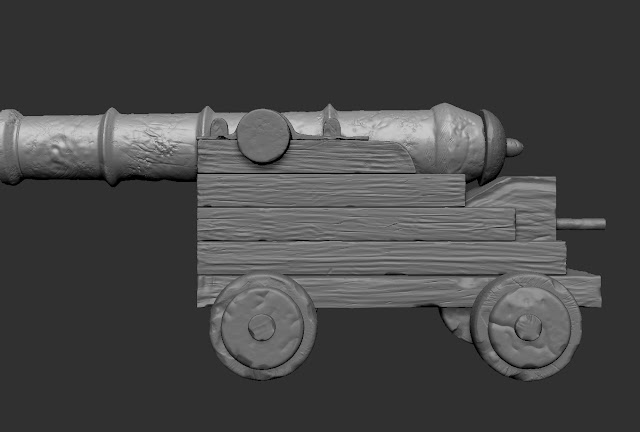
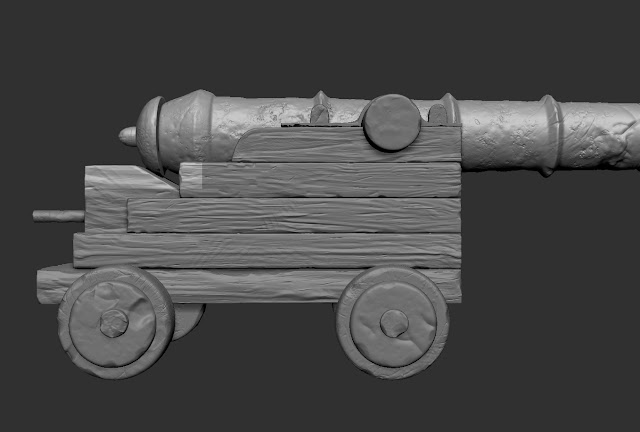
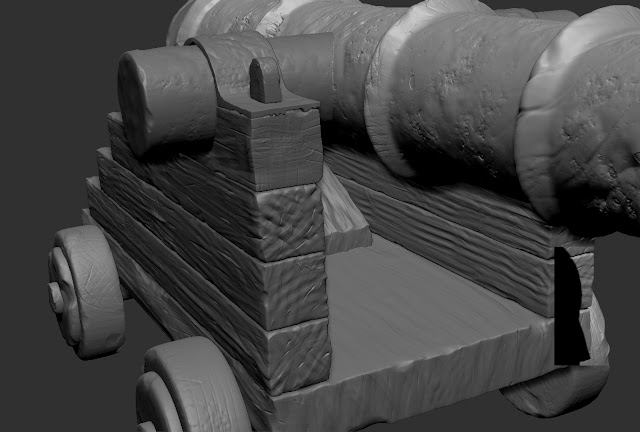
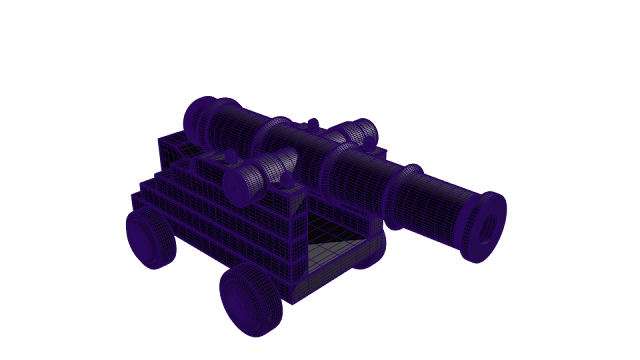
This is the second sculpted half of the cannon from before, this time with the wood grain carved out. We imported "orb" brushes that had a lot of cracks and crevices to sculpt or drag onto the mesh to give more of a woody, grain texture. We also learned to use the render function instead of just snipping out a screenshot this time.
Saturday, September 28, 2019
Figure Drawing Week 05
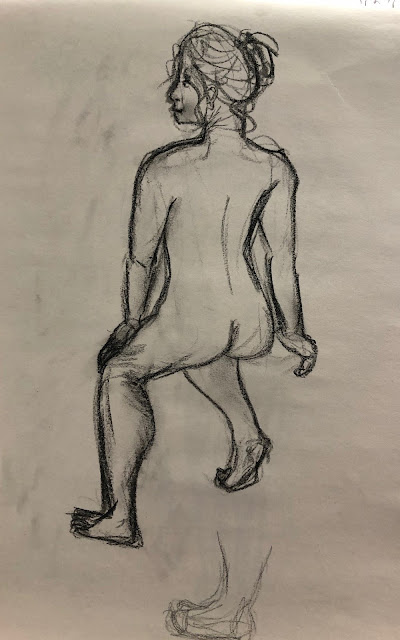
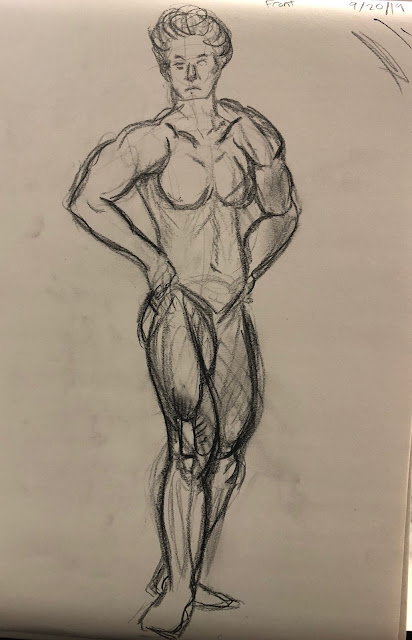
This week we worked on the anatomy of the hands and upper arms, with a new, female model.
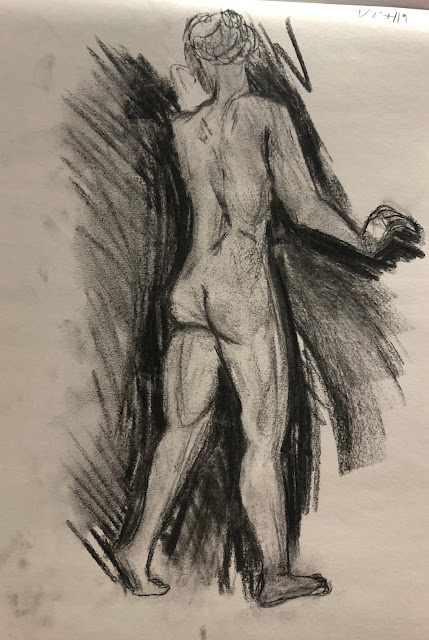
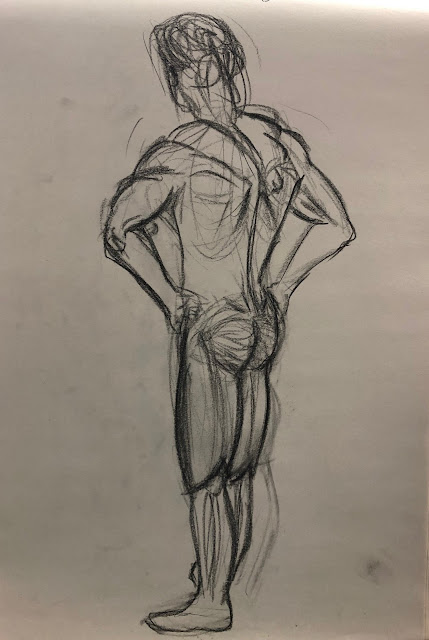
For the last drawing, George suggested I try making a gesture of the figure with charcoal and darker gestures in the outer, negative space, making only a few single lines to create the shape of the figure. At first this seemed complicated, but I really liked how it felt after a while to get loose with the drawing and not worry about making a mess.
Thursday, September 26, 2019
Artist Study: Drew Struzan, Composition
This week we focused on composition by looking at movie posters he's done. I chose this unused Harry Potter movie poster art:
My best guess for the composition style in this picture would be something like a radial set up, with the focus on Harry and leading out with the smaller characters.
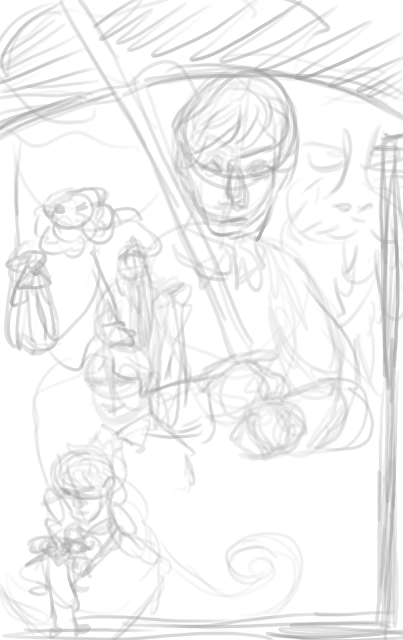
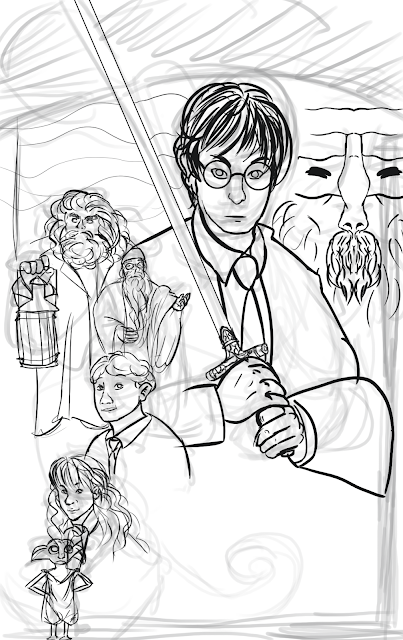
This was my initial sketch for placement blocking:
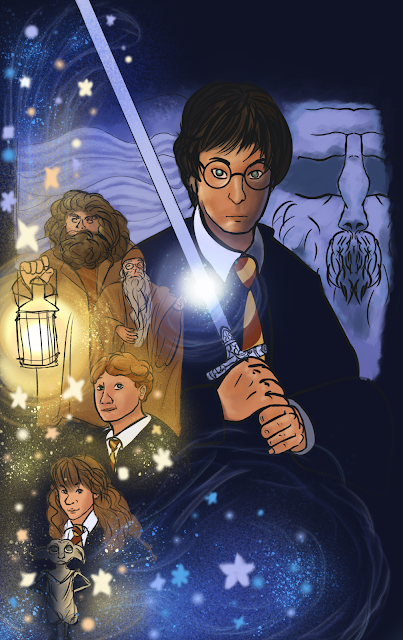
Then I went to work on adding shadows, highlights, cleaned up color areas, glowing effects, and cleaned up some of the line work for the final picture:
My best guess for the composition style in this picture would be something like a radial set up, with the focus on Harry and leading out with the smaller characters.
This was my initial sketch for placement blocking:
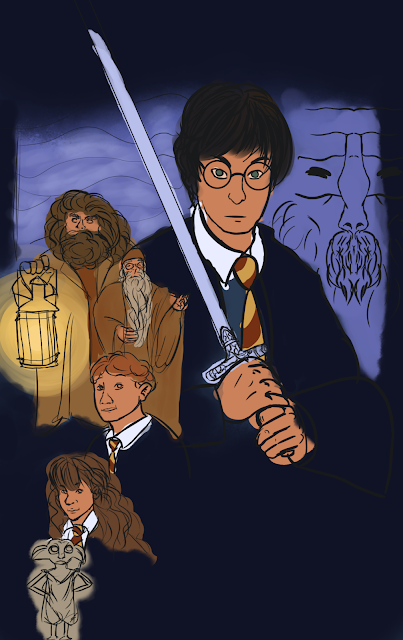
Then I did some overall lining to try and refine the shapes:
And added some flat color for blocking:
Monday, September 23, 2019
Tech Art Lighting and Material Instance Creation Assignment
This week we focused on lighting a scene and creating materials. We were to take the provided scene and light two rooms and a hallway. Then we had to create a parent material with parameters and create children instances to manipulate and add onto imported bumping pub assets, from the previous assignment.
Only one light, aside from the directional light, was supposed to cast shadows as a stationary light. I chose one of the fireplaces.
Only one light, aside from the directional light, was supposed to cast shadows as a stationary light. I chose one of the fireplaces.
Drew Struzan Reference Board
This week we looked at Drew Struzan's work with composition in movie posters. I gathered seven of interesting composition and will be choosing one to recreate for our next assignment.
Zbrush Cannon Sculpting 01 - Metal
This week our assignment was to sculpt approximately half of the cannon model. I followed the videos and focused on what seemed to be made of metal or stone for sculpting.
I had some trouble with the wheels, as the smaller sections did not react well to Dynamesh, so I left them be for the time being.
I had some trouble with the wheels, as the smaller sections did not react well to Dynamesh, so I left them be for the time being.
Sunday, September 22, 2019
Figure Drawing Week 04
This week in figure drawing we focused on the muscles of the upper leg in the thigh and quadriceps areas. Our poses seemed to be longer this week, so I only have a drawing of the front and back that I worked on, with George coming by to help me understand the front muscles a little better with some added lines for guidance.
Wednesday, September 18, 2019
Frank Franzetta Value Assignment
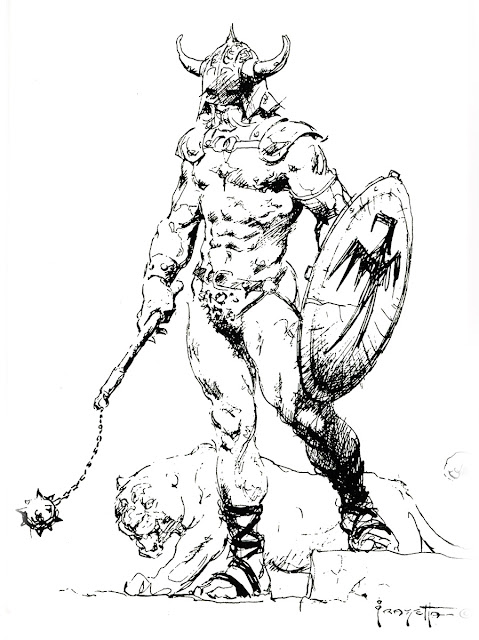
For this assignment, after watching the instructional video on values and looking through the DOTA 2 character design powerpoint, I chose this sample linework to work on adding value to:
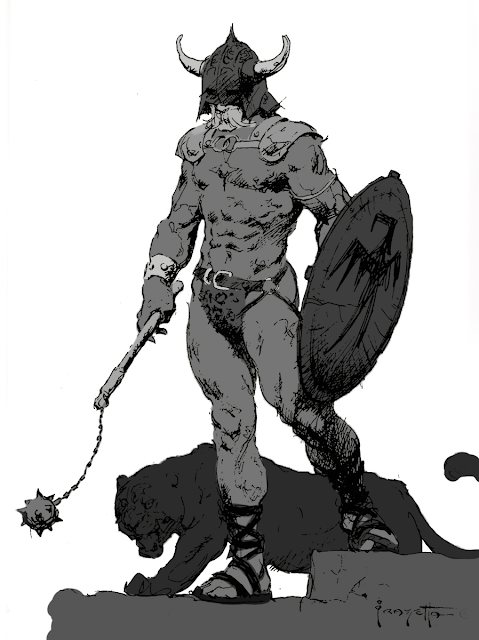
Putting it on multiply, I used the quick selection tool to go around the character and animal and get a selection of their silhouettes. This let me take the hard edge brush with a mid tone and block out the general shape where painting would be. Once that was evened out, I continued painting on that layer in different values for the clothing and props.
This is what I had for general flat blocking with lines:
And this is what it looked like without the lines:
Putting it on multiply, I used the quick selection tool to go around the character and animal and get a selection of their silhouettes. This let me take the hard edge brush with a mid tone and block out the general shape where painting would be. Once that was evened out, I continued painting on that layer in different values for the clothing and props.
This is what I had for general flat blocking with lines:
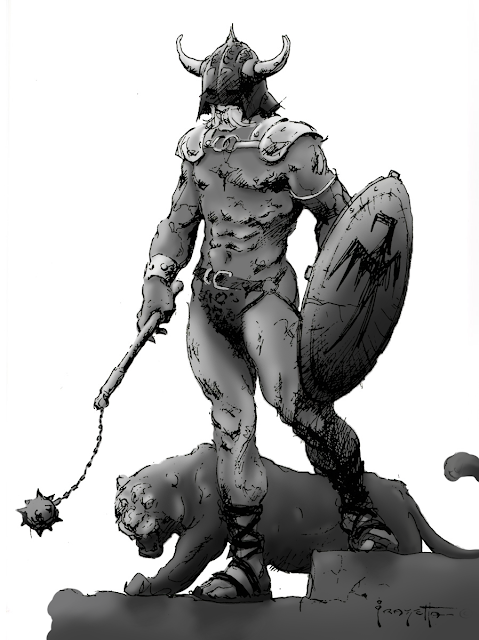
I created a clipping mask over the blocked out colors so I could take the soft brush and go over everything to add shadows and highlights, using the dropper tool to help with blending and adjusting until I found a balance I was satisfied with.
Tuesday, September 17, 2019
Frank Frazetta Inspiration Board
This week we were to look up references of artist Frank Frazetta. I found a few good ones on Pinterest, which led me to more, off Pinterest sources of a lot of his artwork:
My favorite of these references is on the bottom row, second from the right, of the people riding some sort of giant reptile with a bow and arrow. The skin and bow highlights really stand out with the light shining down on them from above, and it helps add strong contrast with the more neutral and darker toned creature. I can also really appreciate his shading on the muscles and curves of people's bodies, adding natural depth and shape.
My favorite of these references is on the bottom row, second from the right, of the people riding some sort of giant reptile with a bow and arrow. The skin and bow highlights really stand out with the light shining down on them from above, and it helps add strong contrast with the more neutral and darker toned creature. I can also really appreciate his shading on the muscles and curves of people's bodies, adding natural depth and shape.
Monday, September 16, 2019
Proxy Model Cannon UV's and Up-Res In Maya
For this assignment, we were to take the cannon we built for last time and go through each piece, creating a map of UVs for the whole cannon. After a bunch of cutting, sewing, and unwrapping, we started working on the up-res work to ensure that smoothing the canon would not lose its edges or details. Then we needed to rework the UV placements a little more to account for the smoothing and possible changes, and could import it into Zbrush.
These were my UVs after up res:
I had trouble finding space for all of them while also making sure nothing overlapped or was too outrageous of a size. I was a bit more lenient with shells that were not visible to the viewer in order to make room for the more crucial pieces.
These were a few screenshots and a render when still in Maya:
And finally, a couple of Zbrush screenshots:
Sunday, September 15, 2019
Importing Assets to Unreal
This week our assignment was to import some assets from the Bumping Pub files into Unreal, arrange a scene, and turn everything in via perforce.
Saturday, September 14, 2019
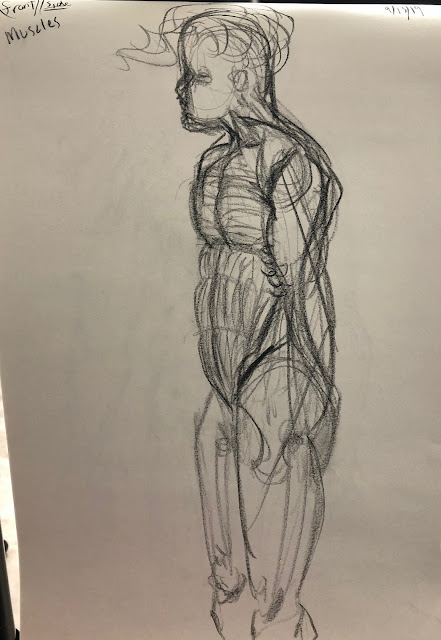
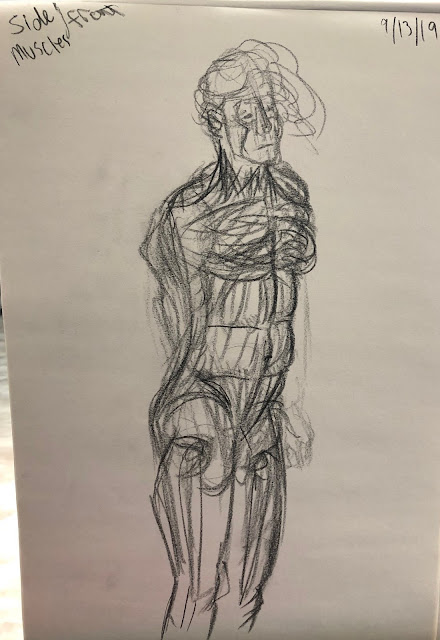
Figure Drawing Week 03
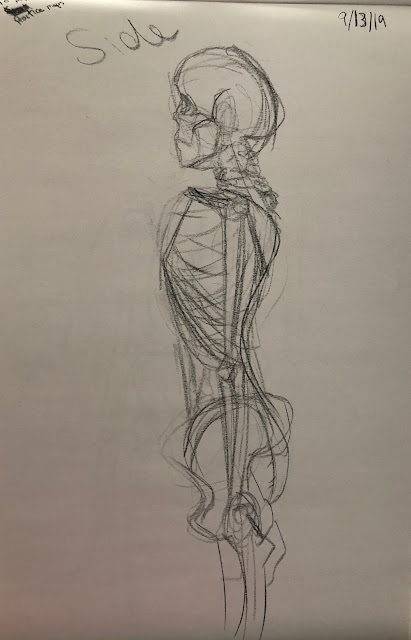
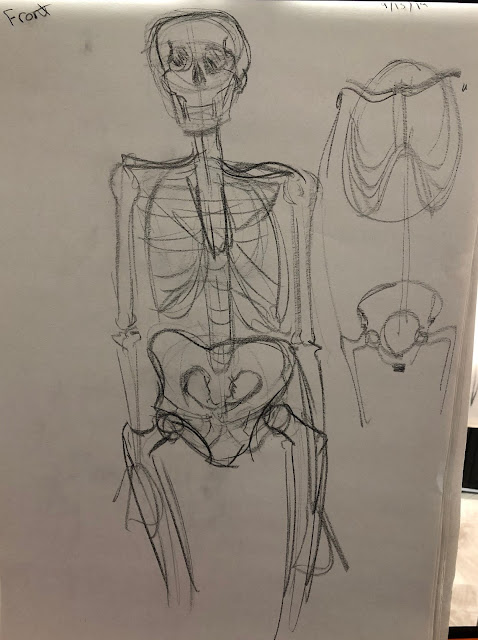
Before the model came in this week, we practiced sketching out a map of the body from a skeletal viewpoint using George's reference drawings from earlier in the course.
George came by to help me understand the bones a little better with a quick sketch in the corner to simplify what we were looking at. I have a tendency to get lost in the detail attempts, which often makes my drawings more confusing and messy.
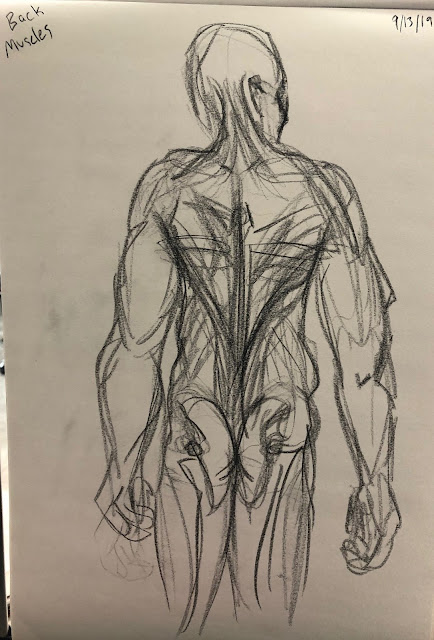
Once the model came in, we focused on the internal muscle placements on the body.
Since we focused on the torso's muscles and bones, I realized by the end that it was better to not include the arm when not drawing a direct front or back view in order to avoid cluttering the picture, for now.
Wednesday, September 11, 2019
Basic Shapes - Brian Froud
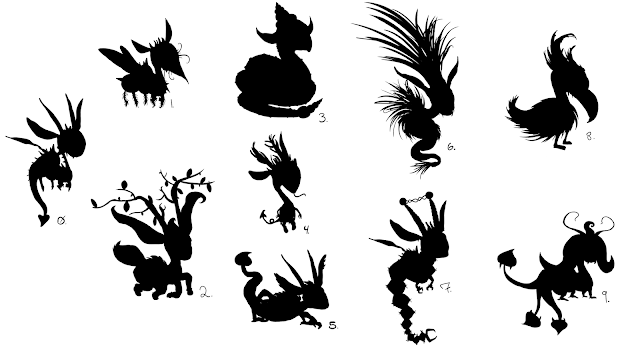
For this assignment, we were to pick a character design by Brian Froud to sketch over into a silhouette form, and then edit that silhouette into nine new designs.
This is the character I chose:
And these were the designs I came up with, with the original silhouette on the left for reference:
This is the character I chose:
And these were the designs I came up with, with the original silhouette on the left for reference:
Monday, September 9, 2019
Bouncing Ball First Pass
Our second animation assignment was to tackle the basics of squash and stretch bouncing animation.
This was my final animation:
And this is what I had started with when I was still playing with rotations,before I realized I didn't know how I could make the ball squash or stretch while rotating:
This was my final animation:
Move Object Assignment
Our first animation assignment from last week was to move a couple of pre-rigged models in the XYZ axis and show off rotation.
Saturday, September 7, 2019
Proxy Cannon Assignment
For this assignment we were to go through a series of video tutorials teaching us how to proxy model a canon, some plants and ground, and how to put them into Unreal Engine.
I took a couple of screenshots from the early modeling stages:
And then several shots of the final view with the wireframes visible:
And finally, a couple shots of the canons in Unreal with some metallic texture applied:
I took a couple of screenshots from the early modeling stages:
And then several shots of the final view with the wireframes visible:
And finally, a couple shots of the canons in Unreal with some metallic texture applied:
Subscribe to:
Posts (Atom)
