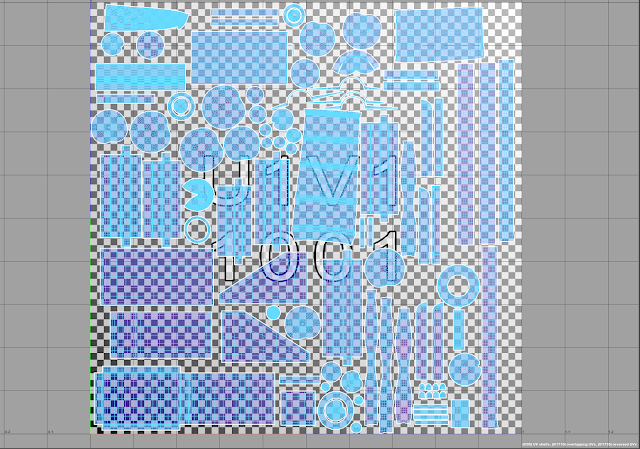
For this assignment, we were to take the cannon we built for last time and go through each piece, creating a map of UVs for the whole cannon. After a bunch of cutting, sewing, and unwrapping, we started working on the up-res work to ensure that smoothing the canon would not lose its edges or details. Then we needed to rework the UV placements a little more to account for the smoothing and possible changes, and could import it into Zbrush.
These were my UVs after up res:
I had trouble finding space for all of them while also making sure nothing overlapped or was too outrageous of a size. I was a bit more lenient with shells that were not visible to the viewer in order to make room for the more crucial pieces.
These were a few screenshots and a render when still in Maya:
And finally, a couple of Zbrush screenshots:


No comments:
Post a Comment